My Mama’s Kitchen

Recently I’ve been listening to a podcast called ‘Your Mama’s Kitchen’ hosted by journalist Michele Norris. She asks her guests about their mama’s kitchen. They not only talk about their earliest memories of what delightful (and some not so delightful) meals that their mamas made, but how those memories of being around the dinner table or just simply being in the kitchen while she cooked help shape their lives. It’s amazing how a simple question, a certain smell or nostalgic taste can transport us back to memories of home, how we grew up and how it helped make us what we have become today. This made me think about my own mama’s kitchen.

One of my earliest memories is baking with my mama with my Easy Bake Oven.

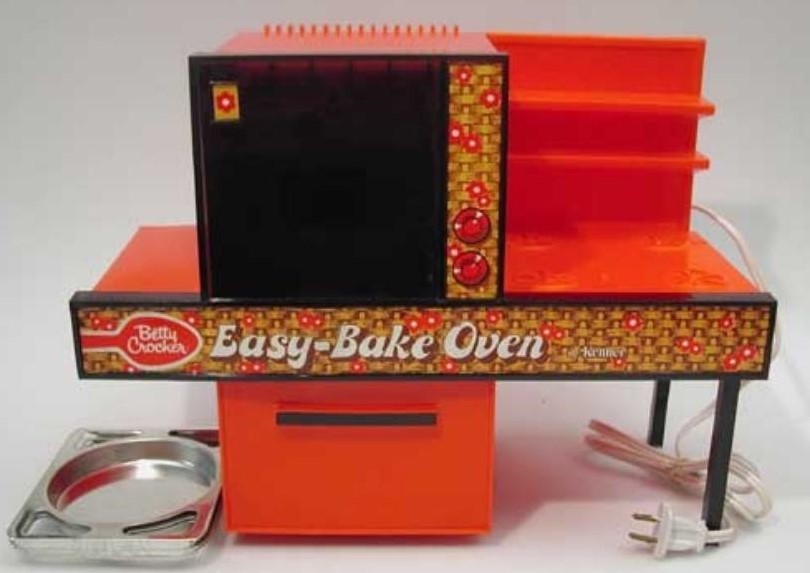
It was in the kitchen in the first house I lived in. I think I was probably around 3 or 4. The one thing that I remember most about that kitchen was the window with yellow curtains that looked out to the back yard. I don’t remember if my mom and dad bought me that Easy Bake Oven as a gift, or they just got it for me because they knew I’d enjoy it. I don’t know if any of you ever had had one, but those cakes were made from a mix that you made into a batter then spread it into these small round tin cake pans. The pans slid it into the oven on one side. When they were done you’d push them out the other end. I can still remember how those tiny little round chocolate cakes smelled and the excitement of watching them bake through that little window. If you were to ask me today how did those cakes taste, I couldn’t tell you. I’m assuming they were pretty decent or I think the memory of having made my first cake and it tasting horrible would have made a lasting impression. You would think that as excited as I was baking those cakes, that would have awoken an inner baker in me, but no, that desire left as quick as a dog eyeing a squirrel.

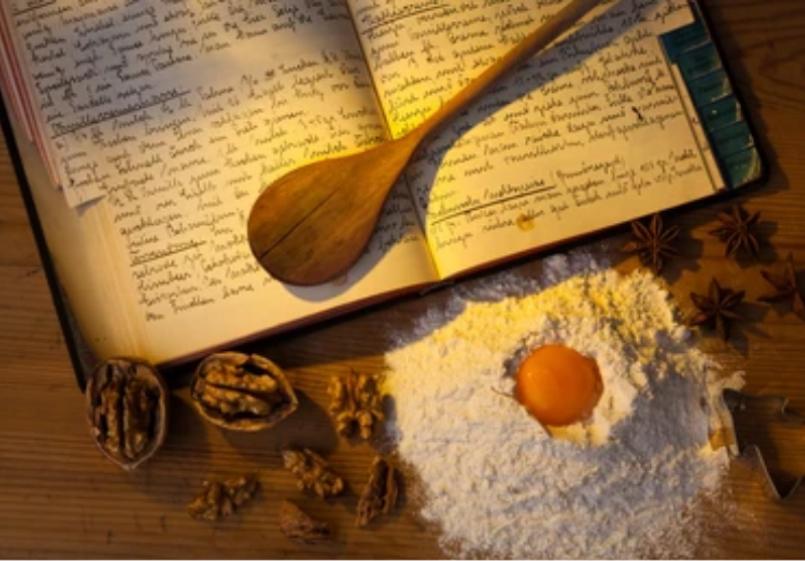
My mama however, she liked to bake.

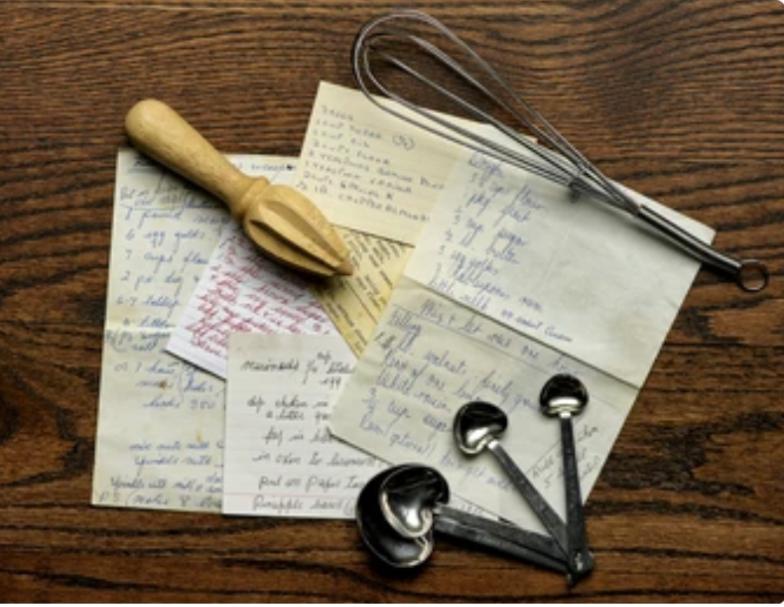
She made her own pie crusts for her pies and she made a very tasty cobbler. I say tasty meaning the cobbler part. When it was a peach cobbler, I didn’t like peaches (still don’t to this day) so I would just eat all of that golden, crisp crumble and leave the rest behind. Then there was her chocolate pudding cake. Whenever it snowed, she would make this delicious chocolate cake that had a pudding that soaked into the cake as it baked leaving a gooey pudding like sauce in the middle. It was one of our favorite cakes. Sadly, over the years she lost the recipe. We recently had been talking about that cake. Who knows, perhaps googling it she can now find that recipe or one similar to it. Now I’m really wanting a piece of that chocolatey decadence.

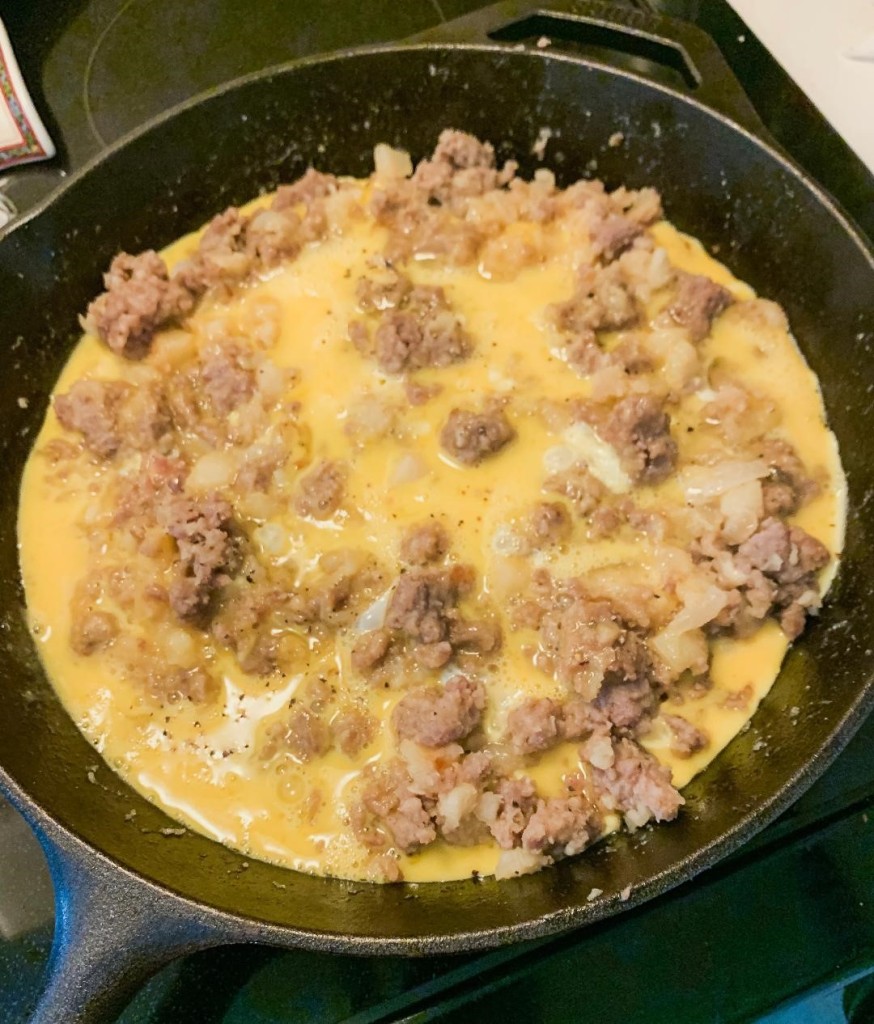
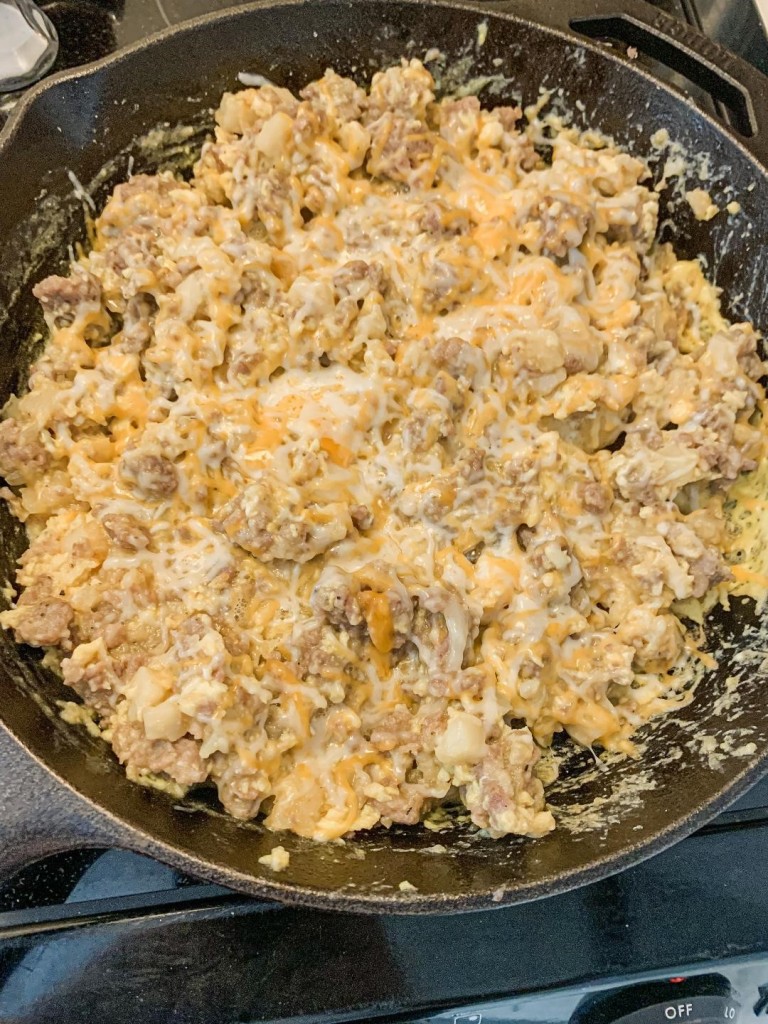
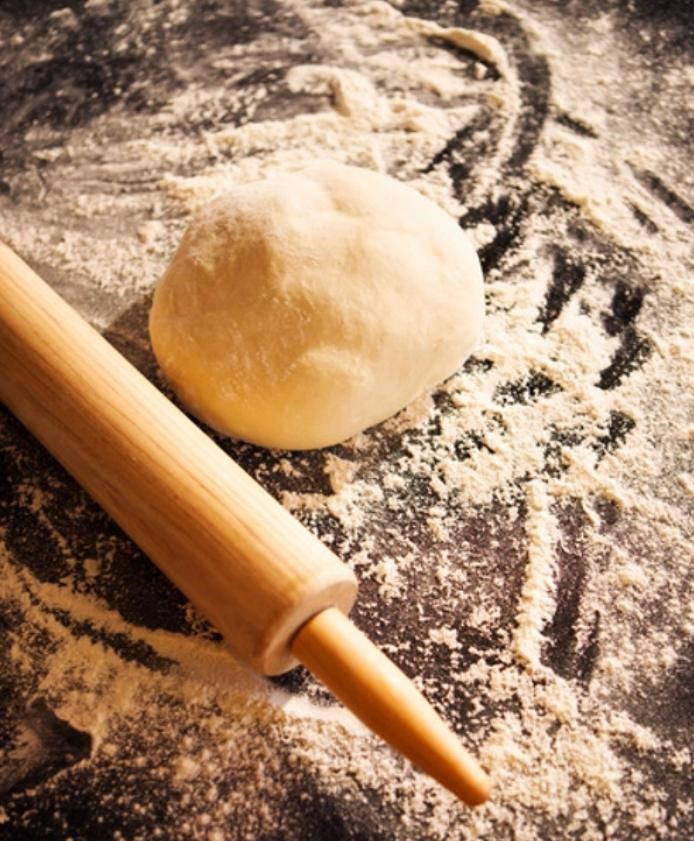
Not only did mama like to bake, but she was ( and still is)also a really good cook. As she told me recently, she never loved to cook, but if she was going to make dinner, she was going to make it taste good. She would often take ideas from different recipes and put them together until it tasted the way she liked it. On some nights we’d have fried chicken, Swedish meatballs (sorry IKEA, your Swedish meatballs do not even compare to my mamas), beef stroganoff (one of my favs) and her go to dish that everyone loved when she would take a meal to a friend, her chicken casserole. Mind you, this was the 70’s and early 80’s in the South, so there was a lot of frying and biscuits and often rice and gravy accompanied some of the meals. She always made her biscuits from scratch and make me a tiny one from the small pieces of dough that was left. Should I mention that while watching her make those biscuits, I would take a scrap of dough and eat it? Yes, I was one of those kids. We would occasionally have soft tacos. The corn tortillas came in a can. Yes, a can. Back then I never thought that was different or odd because that’s all I knew.

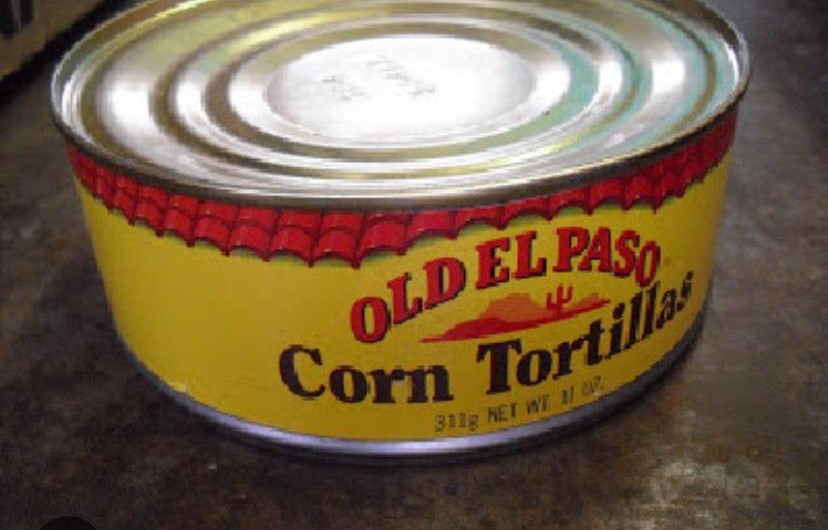
They were the OLD EL Paso brand. She would fry them in a little bit of oil and make a seasoned ground beef filling. The cheese she would use was American sliced cheese grated with a box grater. When I got older she would let me take care of the cheese. I remember how proud I was that I was the one who grated the cheese. To this day I can still remember the flavor and the texture of those tacos. Those were absolutely delicious. To me, those corn tortillas had more flavor than most corn tortillas I’ve had today.

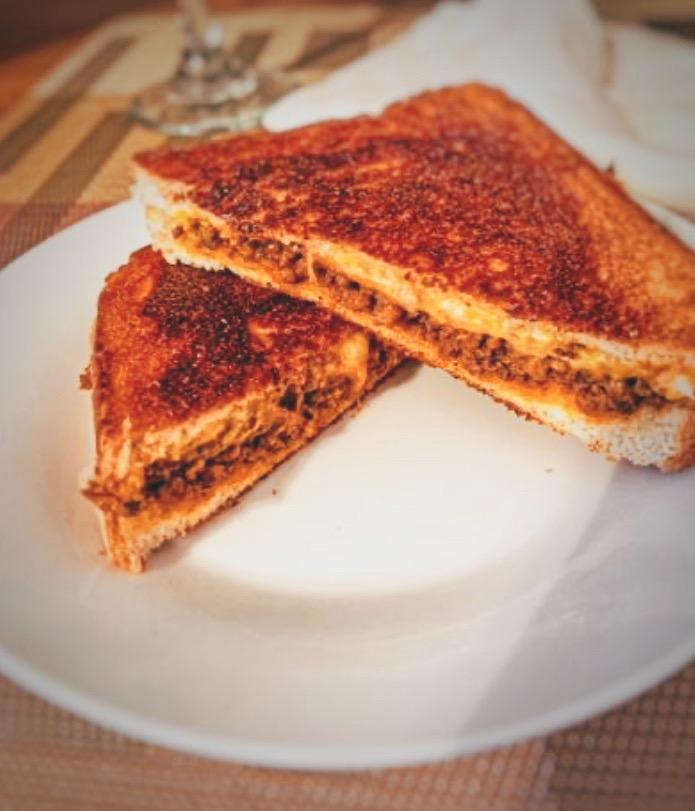
My mama wasn’t the only one cooking in the kitchen. My dad also liked to come up with some of his own recipes, like his own BBQ sauce for cooking out on the grill. It would consist of a little of this and a little of that mixed together. It would come out pretty darn tasty. He’d make simple but really good chili cheese sandwiches from the leftover chili when we would have hot dogs the night before.

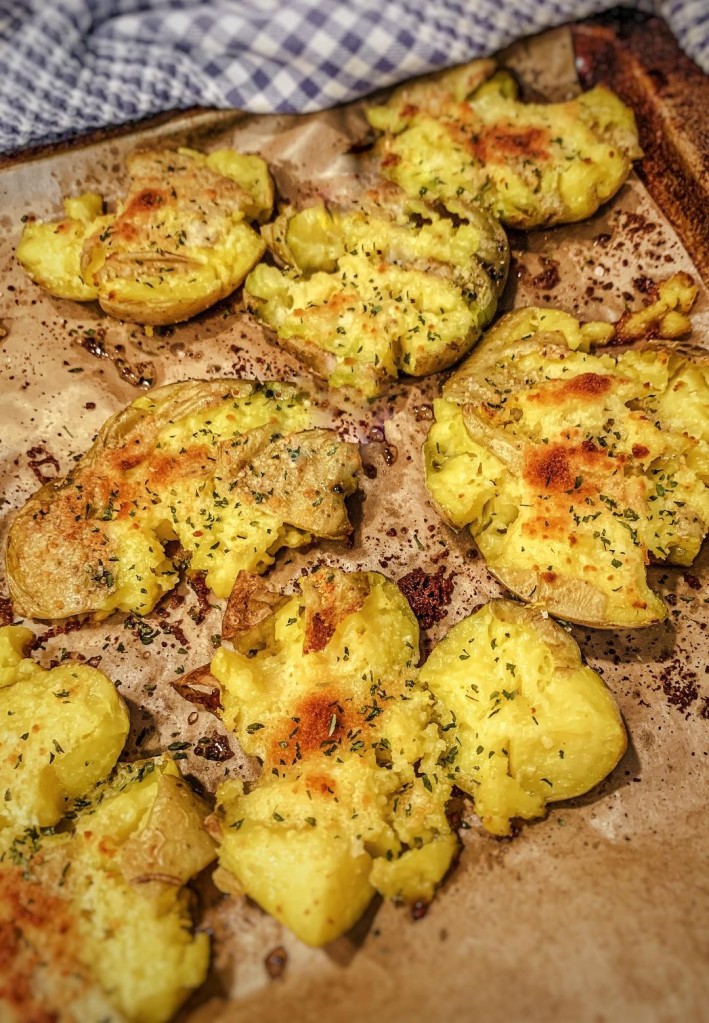
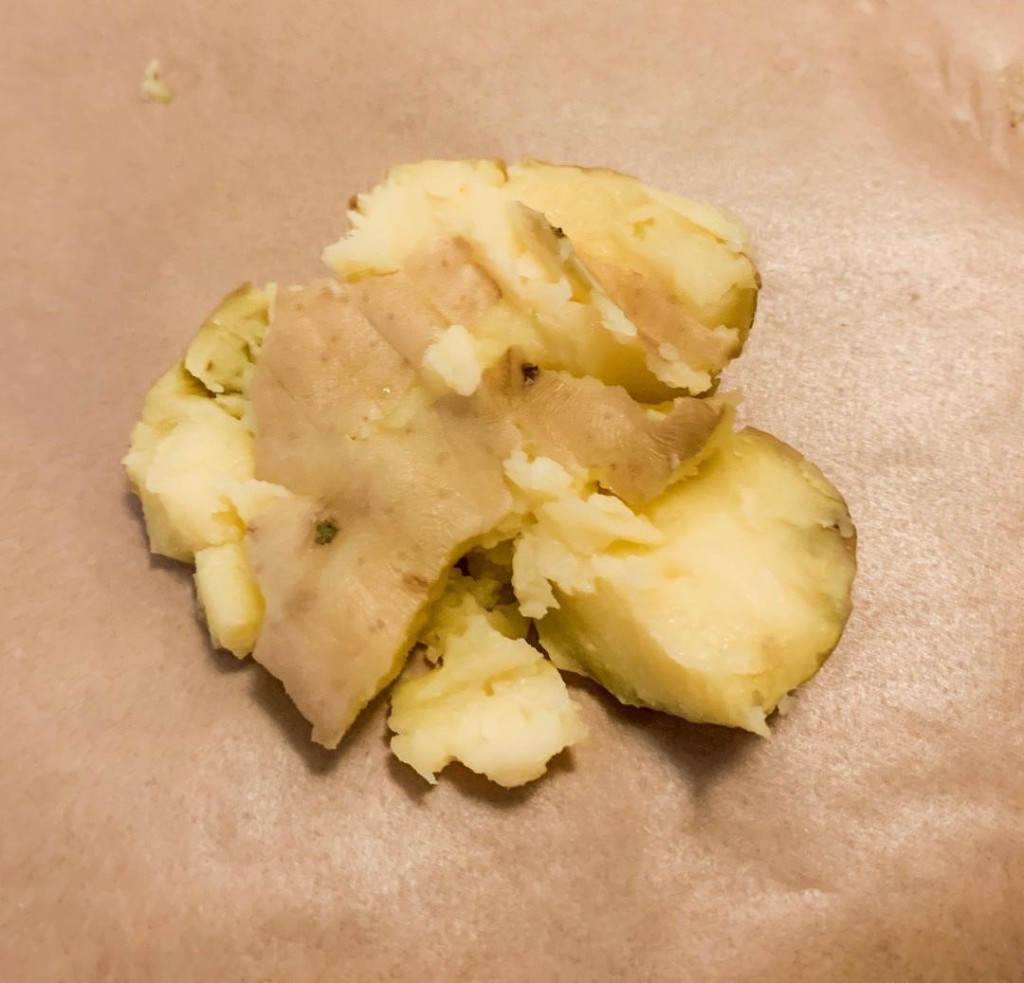
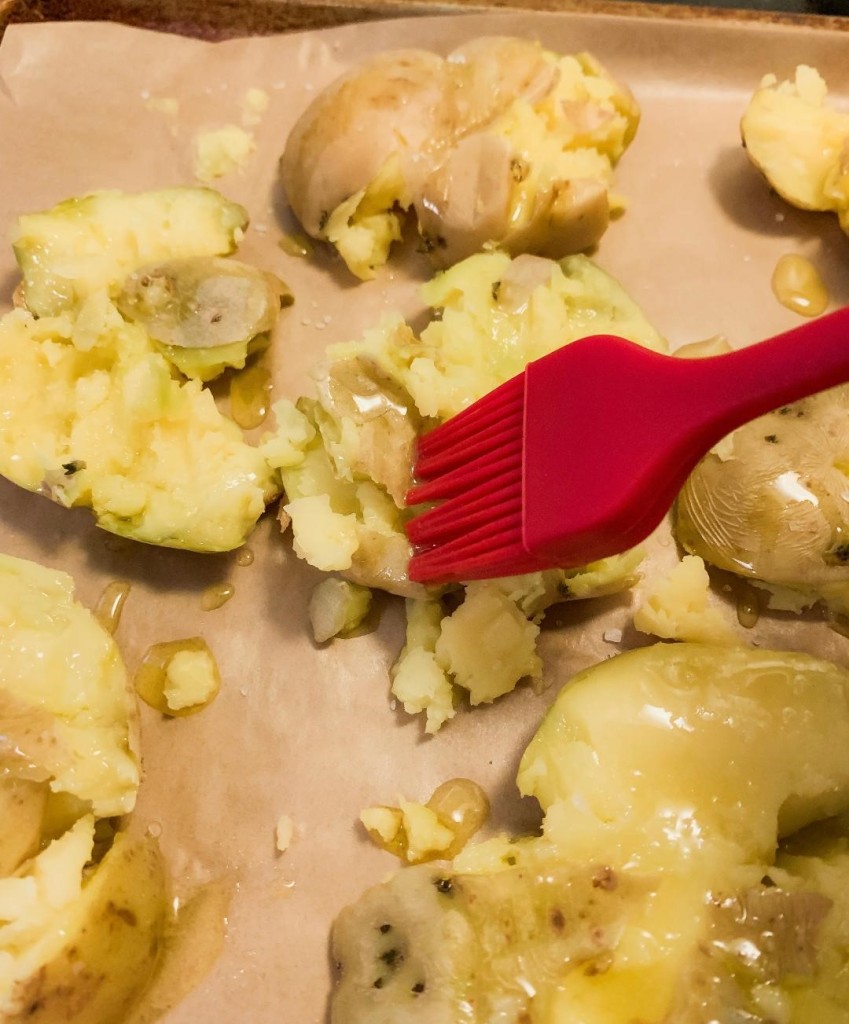
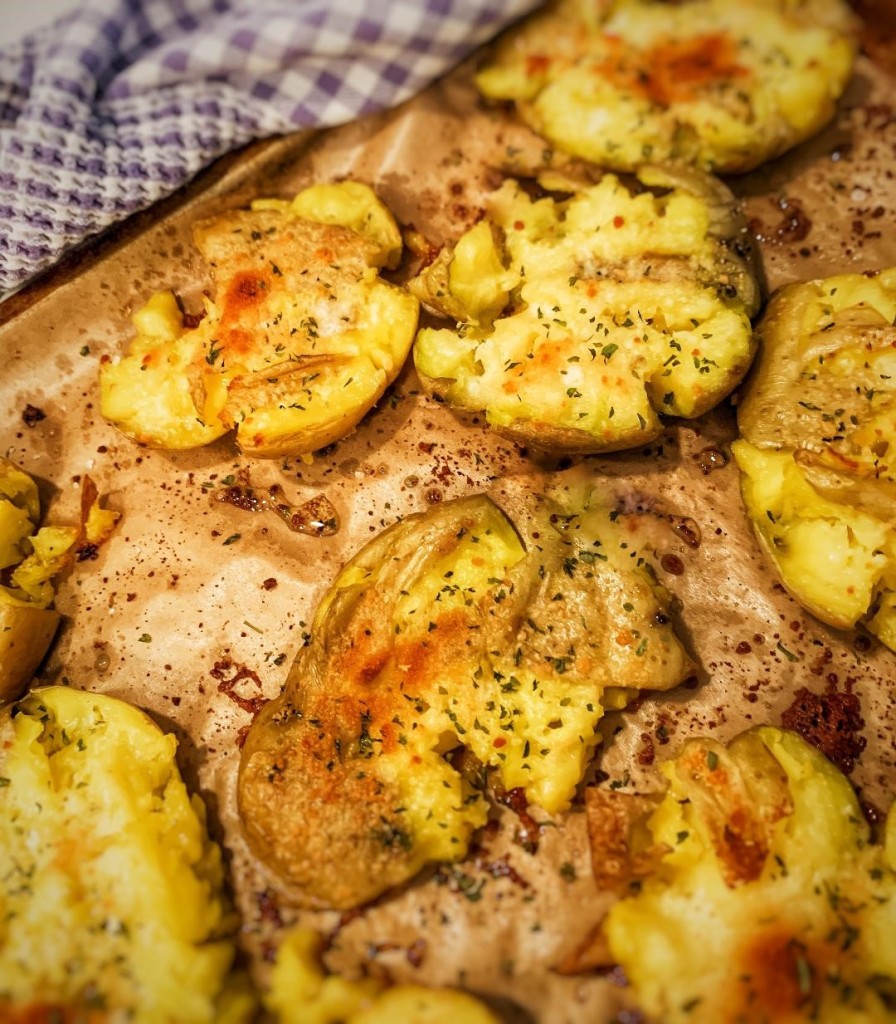
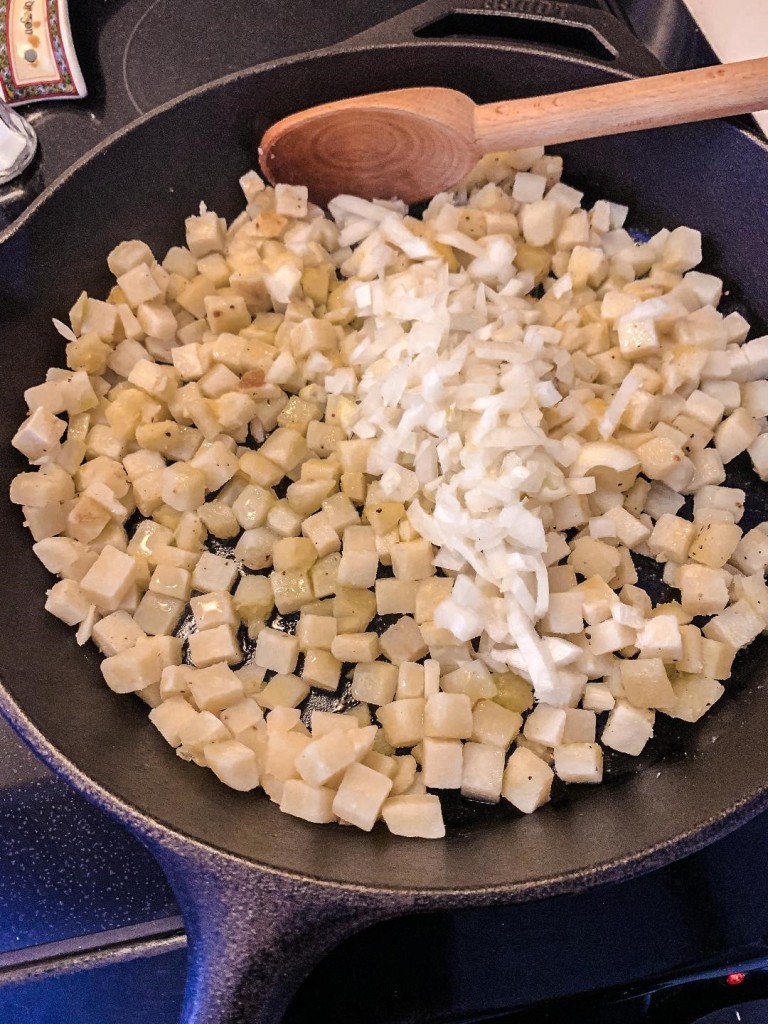
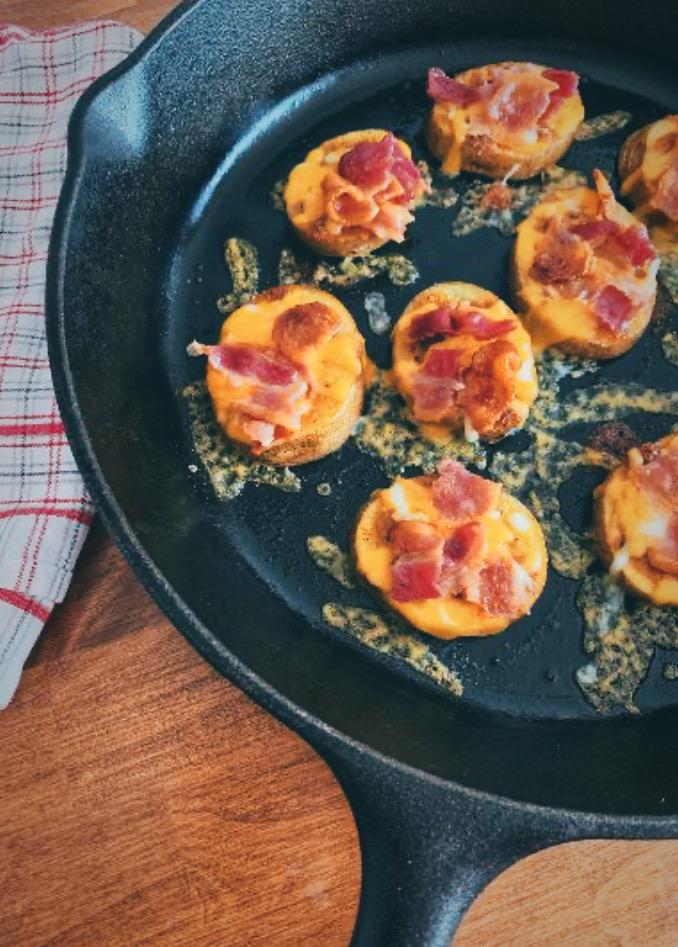
Or his cheese potatoes that he would whip up when he had something cooking on the grill.

When we would have Thanksgiving and Christmas at our house they would go all out. Mom would fix usually the main things and dad would do some sides and an intriguing little before dinner nibbles.

As I got older, my desire to cook grew. I had spent all those years at my mama and dad’s side in the kitchen. I took that knowledge along with watching cooking shows and started cooking for them. My love for cooking still continues to this day. Looking back at all of those memories in my mama’s kitchen, I can see how food brings family and friends together. It’s true that love does indeed show in someone’s cooking. My mama might not have loved to cook, but some of my best childhood memories are not only of her and my dad’s food, but how as a family we’d laugh, share stories and ideas and talk about life and dreams while in the kitchen and at the dinner table. Those are memories that I will always cherish. It also gave me the desire to show family and friends my love for them through my food. You can spend money learning how to become the best chef or baker and can be great at it, but for me, I found the best teacher of learning how to cook for those I love and about life in general, started in my mama’s kitchen.

What are some of your memories of growing up in your mama’s or a loved one’s kitchen?

Recipes Inspired From My Mom and Dad

Grilled Chili Cheese Sandwiches

Buttermilk Biscuits

Dad’s Cheese Potatoes

Like what you see and want more? Like and Subscribe to the blog and you can get all of the updates to more mouthwatering food that wont break your budget.

Spaghetti Meat Sauce

There is something so comforting about a big pot of homemade, meaty spaghetti sauce slowly simmering away on the stove. Not only does it make your house smell wonderful, but it’s also so satisfying to know that it’s something that you and your family can enjoy while sitting around the table and sharing a delicious meal together.

This meaty spaghetti sauce is thick, rich and packed with the zesty flavor of herbs and spices. This soul satisfying sauce is not only great over spaghetti, but it’s good over just about any hearty pasta. It’s delicious in lasagna also.

Make sure that you have some nice crusty bread to mop up all of that saucy goodness because you will not want to waste any of it. Yes, it’s that good!

This can be made in advanced and reheated the next day. It’s also very freezer friendly for one of those long weeknights when you want a homemade meal, but don’t have a lot of time in the kitchen. So grab some of that crusty bread and lots of parmesan cheese and see how you can make your own.

Here’s What You Need:

*1 onion, chopped

*2 garlic cloves minced

*olive oil

*1 lb. ground beef

*2 tsp. beef bullion granules

*2 TBS. tomato paste

*1 tsp. salt or more to taste

*1 1/2 tsp. onion powder or more to taste

*1 tsp garlic powder or more to taste

*2 tsp. sweet paprika or more to taste

*2 tsp. dried oregano or 1 TBS fresh oregano or more to taste

*2 tsp. dried basil or 1 TBS. fresh basil or more to taste

*1 tsp. dried thyme or more to taste

*1 tsp chili powder or more to taste

*14.5 oz can diced tomatoes

*28oz can tomato sauce

*1 tsp. sugar

*1 bay leaf

Heat a large pot to medium high heat and add in a few table spoons of olive oil; add in the onions and sauté about 2 minutes or until they start to soften.

Add the ground beef and the garlic, breaking it up with a wooden spoon or spatula until browned; drain if needed.

Turn the heat down to medium and add in the tomato paste and all of the herbs and spices except for the bay leaf and the sugar. Stir and cook for about 1 minute.

Stir in the diced tomatoes, tomato sauce and the sugar until well combined.

Add in the bay leaf. Cover and simmer for 45 minutes to 1 hour.

Remove bay leaf before serving.

Serve over spaghetti or your choice of pasta and fresh parmesan cheese.

Enjoy!

To Freeze Meat Sauce:

Store in a freezer bag or freezable container for 3 to 4 months.

Like what you see and want more? Like and Subscribe to the blog and you can get all of the updates to more mouthwatering food that wont break your budget.

Smashed Parmesan Potatoes

These Smashed Parmesan Potatoes are the perfect side dish. They are soft on the inside and crispy on the outside with the delicious taste of parmesan and a hint of butter and garlic.

If you’ve been following my blog, you know how much I love a side dish of potatoes. I’ve made them roasted, fried, air fried, mashed and broiled them, but until recently I have never smashed them. Boy was I missing out. Not only does it help you relieve any stress that you might have had for the day by a good smashing (gentle smashing I must add), but all of those little edges and rugged textures come out crispy and tasty.

These are so easy to make and do not take a long time to prep….which is always a plus for me. I like to use baby gold potatoes for these. You can boil them, but I prefer the easy way and microwave them until they are almost done. I can also find them in a small microwavable bag, but if you can’t find those they can be microwaved in a covered bowl.

These smashed, flavorful potatoes will go great with your next steak night, burger night or just about with any main dish. Pair them with a great dipping sauce and they can make a tasty appetizer. So grab some of those baby potatoes and see how you can make your own.

Here’s What You Need:

*2 lbs baby gold potatoes; I like to buy the kind that come in a microwavable bag.

*salt to taste

*olive oil

*2 TBS butter melted

*1 tsp. granulated garlic

*1/4 cup or more grated Parmesan cheese

*chopped parsley garnish (optional)

Preheat oven to 425°

If using microwavable bagged potatoes, follow directions but slightly under cook them.

To microwave loose potatoes, place in a microwavable bowl and cover. Cook until slightly under done.

Let the potatoes sit to cool and steam dry.

Place parchment paper on a baking sheet. Lay the potatoes on the baking sheet and with the bottom of a glass or with a potato smasher, gently push down on the potatoes until they crack and flatten.

Sprinkle with salt then drizzle with olive oil.

Combine melted butter and the granulated garlic. Brush the potatoes with the butter mixture.

Place in the oven and cook for 20 minutes or until the edges are crispy and the inside is soft.

Sprinkle the parmesan cheese over the potatoes and cook for another 5 minutes or until the cheese is melted and starts to crisp. Sprinkle with parsley and serve.

Enjoy!

*Variation*

For loaded smashed potato appetizers you can add chopped, cooked bacon when adding the parmesan cheese. After they come out of the oven and cool, add a dollop of sour cream.

Like what you see and want more? Like and Subscribe to the blog and you can get all of the updates to more mouthwatering food that wont break your budget.

Sausage, Egg and Potato Scramble

This is an easy skillet scramble that makes a hearty breakfast (and you all know how much I love a good breakfast) or a breakfast for dinner meal. It has everything in a classic breakfast made in one pan, crumbled sausage, fried potatoes, scrambled eggs and lots of cheese.

I don’t have much time on the weekdays to make a nice breakfast, but on weekends I tend to go all out. This was one of those. I had some leftover sausage in the freezer that I knew would be perfect in a delicious cheesy scramble. I also used frozen diced potatoes that made this dish easier and ready in half the time. This makes a lot, which is great if you are feeding several people or if you are like hubby and I with just the two of us, it means leftovers for the next day’s breakfast.

Here’s What You Need To Make Your Own:

*1 lb pork sausage

*1 TBS butter

*3 cups frozen diced potatoes

*1 onion chopped

*salt and pepper to taste

*1 tsp. garlic powder

*6 eggs

*1 1/2 cup shredded cheddar cheese

*Parsley (optional garnish)

Heat a large skillet (preferably cast iron) to medium high heat and add the sausage; crumble while browning. When the sausage is no longer pink drain some of the fat leaving 1 Tbs or more in the skillet; take out the sausage and set aside.

Add the butter to the skillet, when melted add the potatoes, onion, salt, pepper and garlic powder.

Cook until the potatoes turn golden, stirring often.

Add the cooked sausage back into the skillet with the potatoes, stir to mix.

Turn the heat down to medium.

Whisk together the eggs and pour over the sausage and potato mixture.

season with salt and pepper if needed.

With a spoon or spatula, slowly stir the eggs until it begins to set.

Add in the cheese and continue to gently stir until the eggs are done and mixed with the sausage and potatoes and the cheese has melted.

Garnish with parsley and serve.

Enjoy!

Like what you see and want more? Like and Subscribe to the blog and you can get all of the updates to more mouthwatering food that wont break your budget.

Slow Cooker Pork Carnitas Tacos

Picture it…tender, juicy shredded pork with crispy edges stuffed between pillowy soft flour tortillas. One bite and you’ll be sighing in delight from all of the delicious savory flavors of these slow cooked pork carnitas.

Carnitas in Spanish means “little meats”. It’s pork that’s been braised for hours, shredded and then roasted in a pan or the oven until the edges are nice and crispy. I’ve made a few different versions of this, but this one was hands down my favorite. The pork is rubbed with spices, then braised in the slow cooker in a mixture of garlic, orange and lime juice. After it’s fall apart tender, the pork is shredded, tossed back into the slow cooker with the juices to continue to soak up more of that delicious flavor, then its placed under the broiler. The end result is pure heaven . These pork carnitas are not only tasty in tacos, but are great in burritos, quesadillas and even taquitos.

Not only are these mouthwateringly good, but with a some fast and easy prepping, the slow cooker does most of the work. This can be prepped a day ahead or can be frozen for a meal later in the week for one of those busy nights. So grab your slow cooker and read below to see how you can make your own.

Here’s What You Need:

*4 lb. pork shoulder (pork butt)

*cloves garlic roughly chopped

*1 bay leaf

*flour (or corn) tortillas

*desired garnishes

For The Rub:

*1 tbs. paprika

*2 tsp. onion powder

*2 tsp. garlic powder

*1 tsp. mustard powder

*2 tsp. chili powder

*1 tsp. cumin

*1 tsp. coriander

*2 tsp. salt

*1/2 to 1 tsp. white pepper

For The Braising Liquid:

*1/2 cup orange juice

*1/4 cup lime juice

*splash of Worcestershire sauce

*splash soy sauce

In a small bowl mix together the rub ingredients

then rub it on all sides of the pork.

Place the pork in the slow cooker (fat cap side up if it has one); add in the garlic.

Mix together the braising liquid and pour over the pork.

Toss in the bay leaf and cover. cook on low for 8 hours.

Carefully remove the pork from the slow cooker and cool slightly; discard the bay leaf.

On a cutting board or platter, shred with two forks.

Place the shredded pork back into the slow cooker, tossing it to coat in all of the remaining liquid. Cover and continue cooking for 30 minutes.

Pre heat the broiler.

Remove the shredded pork on place onto a baking sheet and broil for 3 to 4 minutes or until the edges start to crisp.

Place in taco shells and garnish with your choice of condiments.

To Prep Ahead Of Time:

Rub the pork with the rub mixture and place into the slow cooker insert and refrigerate. If your slow cooker does not have a removable insert, place in a sealable container.

Mix together the braising liquid and place in a container and refrigerate.

When ready to cook, toss in the garlic and give the braising liquid a stir then pour over the pork; add in the bay leaf and cook on low.

To Freeze:

Follow all of the above steps except for broiling it in the oven. Cool completely. Place in a freezer bag or air tight container with the juices from the slow cooker. Seal and freeze up to 2 months.

When ready to have it, thaw in the refrigerator. Pre heat the oven to broil, discard the juices and spread the carnitas on a baking sheet and broil until crisp.

Serve and Enjoy!

Like what you see and want more? Like and Subscribe to the blog and you can get all of the updates to more mouthwatering food that wont break your budget.

Slow Cooker Pulled Pork

This slow cooker pulled pork is easy to make and is great for a weeknight dinner or if you’re feeding a crowd. The pork is coated in a rub that has just the right amount of spices, then slowly cooks for hours in a tangy, slightly sweet BBQ sauce that has a little kick of chipotle seasoning. It comes out fall apart tender that’s great on hamburger rolls, sliders or even tacos. 

I like to use pork shoulder ( also known as pork butt or Boston butt) because of the fat content that creates tender, fall apart meat when cooked slowly. You can use boneless or bone in. It may also come with a fat cap, which just means there is a layer at the top of thick fat. I keep this on and cook it with the fat cap side up because this helps keep the pork juicy and tender. It’s easy to remove the fat cap and the bone of you are using bone in once it’s cooked. The meat is so tender that it the just basically falls apart.

This slow cooker pulled pork can also be prepped a day ahead and cooked the next day. If your slow cooker has a removable insert, coat the pork in the rub mixture and place inside along with the chopped onions. (If you do not want to add the onions, simply dice them and put in another container. )Mix up the BBQ sauce mixture in a separate container and refrigerate both. When you are ready to cook, add the BBQ sauce mixture ( and the onions if they are separate) place the insert back into the slow cooker and you are ready to have your house smell quiet delicious for the next few hours.

Here’s What You Need To Make Your Own:

*1 5to 7 lbs. boneless or bone-in pork shoulder

*1 medium onion coarsely chopped

For The Rub:

*1 tbs. light brown sugar

*1 tbs. paprika

*2 tsp. garlic powder

*2 tsp. onion powder

*1 tsp. mustard powder

*1 1/2 tsp. chipotle powder or more to taste

*2 tsp. salt

*1/2 tsp. white pepper

For The BBQ Sauce Mix:

*1 bottle of bbq sauce

*1/4 cup beef broth

*1 tbs. light brown sugar

*1/4 cup apple cider vinegar

*2 tsp. Worcestershire sauce

*2 tsp. soy sauce

In a small bowl, mix together the rub. Sprinkle the rub on all sides of the pork.

Place the pork fat cap side up inside of the slow cooker; add in the onions.

Mix together the bbq sauce mixture and pour over the pork.

Cover and cook on low for 6 to 8 hours.

Carefully remove the pork from the slow cooker. Remove the fat cap and discard.

With 2 forks shred the pork. If the pork is bone in, the bone should easily come out.

Place the shredded pork back into the slow cooker and stir to mix with the bbq sauce. Cover and cook for another 30 to 45 minutes.

Serve as desired.

Enjoy!

Like what you see and want more? Like and Subscribe to the blog and you can get all of the updates to more mouthwatering food that wont break your budget.

Chocolate Chip Cookies

These thin chocolate chips cookies are filled with melted chocolate goodness with a chewy center and crispy edges. Not only do the melted chocolate morsels taste delicious, but the buttery, brown sugar taste of the cookie itself is down right heavenly.

This was my first time making chocolate chip cookies from scratch. I confess that these didn’t exactly turn out the way I had anticipated. I really wasn’t going to post these at all, but after hubby and I devoured several as they came out of the oven, he encouraged me to share the recipe. I will say, yes they didn’t come out as thick as I had planned and no, they aren’t your typical round cookie, but these were so incredibly good…. swoon worthy good! But it’s true that sometimes the best things are what we don’t expect.

I think if these had chilled a little longer in the refrigerator, they might have become a thicker cookie. I’m still going to keep working on the recipe, but as my hubby made me promise, I’ll keep this version also. We cookie lovers can never have too many different chocolate chip cookies in our lives after all. So feel free to tweak the recipe, but I think you will devour these as well.

Here’s What You Need:

*2 cups all purpose flour

*1/2 tsp. baking soda

*1/2 tsp. salt

*1 1/4 sticks of softened butter

*3/4 cups sugar

*3/4 cups light brown sugar

*1 egg

*1 egg yolk

*1 tsp vanilla

*1 1/4 cups semi sweet chocolate chips

In a small bowl, combine the flour, baking soda and salt

Set aside

In a stand mixer or using a hand held one, cream butter and both sugars together until mixed well, about 3 to 4 minutes.

Add in the egg and the egg yolk one at a time and the vanilla; mix well.

Reduce speed to low and carefully start adding in the flour mixture a little at a time.

If you add to much at once, trust me you will have a cloud of flour….everywhere. I’m just sayin.

Mix just until combined, scraping down the sides of the bowl if needed.

With a spatula, add in the chocolate chips and mix until combined with the dough.

Press plastic wrap against the dough and refrigerate for 45 minutes.

When the dough is ready to bake, pre heat the oven to 350°.

Line a baking sheet with parchment paper.

Using an ice cream scoop ( smaller ice cream scoop for smaller cookies or a regular size ice cream scoop for larger size cookies) scoop out equal portions of dough and place on to the baking sheet at least 2 inches apart.

Bake until the middle is set and the edges start to turn golden brown, about 12 to 13 minutes.

Try not to burn your fingers as you snatch one right off the baking sheet.

Enjoy!

Like what you see and want more? Like and Subscribe to the blog and you can get all of the updates to more mouthwatering food that wont break your budget.

Sheet Pan Brats and Herbed Potatoes

Dinner just got a whole lots easier with these Sheet Pan Brats and Herbed Potatoes.

If you, like me, have been cooking a lot during the Holidays, you might find yourself needing a bit of a break when it comes to dinner. This is just what you need. Brats and potatoes drizzled with olive oil and sprinkled with thyme, sage and dill are roasted together to create one flavorful meal. It’s all done in a sheet pan so cleanup is even easier.

I recently discovered these brats by Johnsonville

They are delicious. You can use any brand of brats or smoked sausages for this, but hubby and I have been a bit hooked on these lately. To make cooking time a little faster, I also used these golden potatoes that come in a bag.

You just microwave them for about 4 minutes on high, cut in half and throw them on to the sheet pan and sprinkle with herbs. You can also use regular loose gold baby potatoes. Just wash and place in a microwave safe bowl, cover with plastic wrap and microwave for about 4 minutes on high or until they are about halfway done. If you prefer the baby potatoes uncooked, no problem, those work great too.

This sheet pan dinner is even better paired with a quick salad for an easy, delicious meat and potatoes meal that your whole family will love. You will love that it’s less time in the kitchen and more time for relaxing. So grab your favorite sheet pan and look below to see how you can make your own.

Here’s What You Need:

*1.5 lb. gold potatoes or one 24 oz. bag

*1 tsp. dried thyme or more to taste

*1 tsp. dried sage or more to taste

*1 tsp. dried dill or more to taste

*1 tsp garlic powder or more to taste

*1 tsp onion powder or more to taste

*1/2 tsp salt or more to taste

*cracked pepper to taste

*olive oil

1 pkg. of bratwurst

Pre heat oven to 400°

If using bag potatoes, place the potatoes in the microwave and heat for 4 minutes on high or just until they are halfway cooked.

If using loose potatoes, wash potatoes and place in a microwave safe bowl. Cover with plastic wrap and microwave for 4 minutes on high or until they are halfway cooked.

*Note*

Cooking times may vary depending on the brand and wattage of the microwave.

Carefully remove the potatoes and cut in half or in bite size pieces.

Place the potatoes on a baking sheet. For easier clean up, line the baking sheet with parchment paper.

Sprinkle all of the seasonings over the potatoes and drizzle with the olive oil. Toss to coat.

Place the brats around the potatoes.

Cook for 20 to30 minutes or until the potatoes are golden and the brats are cooked.

Serve and Enjoy!

Like what you see and want more? Like and Subscribe to the blog and you can get all of the updates to more mouthwatering food that wont break your budget.

Mongolian Style Beef Tips

If you’ve followed my last two posts you’ve probably noticed that I’ve put my slow cooker into good use lately. What’s not to love about slow cooker meals. They’re easy, the slow simmer makes the lovely ingredients blend together resulting in a very delightful dish, and not to mention it leaves your house smelling quite yummy for the rest of the day. These Mongolian Style Beef Tips are no exception. Beef tips are simmered in a sweet, spicy (or not so spicy if you prefer) saucy glaze until the beef is tender and pact full of flavor with every delicious bite.

Mongolian beef is usually made with flank steak and stir fried in a sweet spicy sauce. I love that as well, but I’m a sucker for good beef tips and as you can tell, I love using my slow cooker when I can. I decided to try it with a beef chuck roast that I cut into bite size pieces and coated in cornstarch(this cut of meat works great if it’s slow cooked, but not if you are making beef tips in a skillet for a quick meal). I wanted that same tasty sauce that Mongolian beef is usually stir fried in, so I included that as well. Beef broth is added to the sauce so the beef will get that nice simmer and turns into a delicious sticky glaze from the cornstarch at the end of the cooking time.

I can proudly say that this was a huge hit. I served it over rice and added a few vegetables on the side. So if Mongolian Beef is one of your favorite take out dishes but you don’t have the time or the energy (we’ve all been there) to stand by the stove to make a stir fry, try this easy one instead. I can guarantee you will not be disappointed.

Here’s What You Need:

* 2 to 3 lbs. chuck roast cut into bite size pieces (this can be done the day before or done in advanced and frozen); or pre cut stew meat

*1/4 cornstarch

For The Sauce:

*1/2 cup low sodium soy sauce

*1 cup beef broth

*1 TBS. canola oil

*1 tsp. sesame oil

*1/4 cup light brown sugar or more to taste

*2 garlic cloves minced or grated

*1 tsp. dried ginger or 2 tsp. fresh ginger

*1/2 tsp. red pepper flakes or more to taste

*green onions thinly sliced for garnish (optional)

Place the beef pieces in a zip top bag with the cornstarch; shake to coat.

In a small bowl combine all of the ingredients for the sauce; mix well.

Place the beef in the slow cooker.

Pour the sauce mix over the beef and stir.

Cover and cook on low for 4 to 5 hours or until beef is cooked and tender; garnish with the green onions and serve.

Enjoy!

Like what you see and want more? Like and Subscribe to the blog and you can get all of the updates to more mouthwatering food that wont break your budget.

Slow Cooker Spanish Rice

Slow Cooker Spanish Rice is a delicious and easy side dish that’s a perfect accompaniment for taco night and so many other main meals. This side dish takes rice to a tasty level with rice that has been lightly toasted, tossed in the slow cooker and simmered with tomato sauce, chicken broth and a hint of seasonings.

I always love getting the rice along with some of my favorite Mexican dishes when we go out. Now that I know I can make it myself, it’s become one of our go to side dishes on Mexican night at home. The only step that takes a little extra time (and only 5 to 8 minutes at that) is toasting the rice in a little butter. You can skip this step, but I like how it adds a little more depth of flavor to the rice. Everything is then thrown into the slow cooker and in about 2 hours you will have some great tasting rice.

This not only makes a great side dish, but it’s also good in burritos, taco bowls and can even become a delicious main meal with chicken or beef added in to it. So read down below and find out how you can make your own.

Here’s What You Need:

*1 TBS butter

*2 cups long grain rice

*4 cups chicken broth ( I use Better Than Bullion)

*8 oz. tomato sauce

*1/2 tsp. salt

*1/4 tsp. white pepper or more to taste (you can use black pepper instead)

*1 garlic clove; grated or minced

*1 tsp. onion powder

*1/2 tsp. cumin or more to taste

*1 tsp. dried oregano or more to taste

*dried or fresh cilantro for garnish (optional)

Heat a large skillet on medium high heat and add the butter. When the butter is melted add the rice. Stir the rice constantly until the rice begins to turn to a slight golden color. Turn the heat down to medium if needed.

Place the toasted rice into the slow cooker. Add in the chicken broth, tomato sauce and the seasonings (except cilantro); stir to combine.

Cover and cook on high for 2 to 2 1/2 hours.

Garnish with cilantro and serve.

Enjoy!

Like what you see and want more? Like and Subscribe to the blog and you can get all of the updates to more mouthwatering food that wont break your budget.